When you link two devices via HDMI, you anticipate a seamless flow of video and audio signals. Issues such as “No signal,” distorted images, or no sound can lead to frustration with this connection.
Many issues may arise from minor causes such as a damaged cable, loose door, or incorrect configuration, so it is crucial to investigate these before suspecting a serious defect in the devices.
We will now outline the primary issues that affect millions of people daily and provide a step-by-step guide on how to address them.
No indication or absence of input
The message on the screen typically suggests that the source device (laptop, console, streaming stick) is not being detected or is not transmitting the signal properly.
One common cause is when the receiving device (such as a TV or monitor) is not set up for the right input. Verify which HDMI input is in use (e.g., HDMI 1, HDMI 2) and choose it from the TV’s menu.
The video source could be inactive, in standby, or lacking sufficient power, like when USB adapters cannot supply enough power for streaming devices.
Try eliminating HDMI extenders or switches between devices if everything appears to be in order, as a direct connection can help identify any issues in between.
How to find a solution:
- Verify the accurate input on the TV or monitor by selecting the correct HDMI option (such as HDMI 1, HDMI 2, etc.).
- Refill the cable completely without unplugging it, then try using a different HDMI port for testing.
- Replace the cable with a brief and dependable one to remove concealed harm.
- Display the source after showing the correct order.
- Bypass intermediaries: link directly from source to display without using a switch, receiver, or extender.
- Disable suspension/hibernation on the home source and perform a test.
- Verify the power source: ensure that the stick, console, or PC is powered on as instructed in the manual.
- Try using a different input or screen to determine if the issue is with the television/monitor or the source.
Presence of a powerful image or complete lack of image
When the screen flickers, vanishes, or turns entirely black, it is advisable to check the display settings of the source device such as resolution and refresh rate, as mismatches can lead to issues.
Long or low-quality cables are often the reason for signal loss over significant distances or in thin cables, indicating a physical flaw or deviation from specifications.
Updating the source and display firmware is also beneficial, as older versions may contain video playback issues or may not be compatible with features such as HDMI CEC or HDR.
How to find a solution:
- Begin at 1080p/60 Hz and increase the resolution and refresh rate slowly.
- Deactivate or download HDMI-CEC at the origin to create a new trading platform.
- Update the firmware and drivers for display, video card, set-top, and console.
- Use cables that are 5 meters or less in length or use a certified active/optic cable for longer distances.
- Some HDMI ports on the TV support features like 4K, HDR, and 120 Hz, while others do not.
- Temporarily turn off “Match frame rate/dynamic range” (Apple TV and similar devices).
- Try out a different Ultra/High Speed cable that is certified.
- Restarting everything sequentially involves powering off, unplugging HDMI, waiting for 30 seconds, powering on the display, and selecting the source.
Sound with snaps or no sound at all.
Check if the volume is turned on for both devices and if the audio file or source is not damaged if you can see the image but do not hear sound or if the sound is distorted.
Ensure that the audio output on the source device is set to HDMI. This can be done by selecting the monitor or TV and setting it as the default playback device in the Control Panel under Sound settings on Windows.
Another frequent reason is that the audio format produced by the source may not work with the receiving device. Consider changing to a standard format like PCM or turning off equalizers and audio enhancements on the display or receiver.
Temporarily remove any HDMI receiver, soundbar, or sound bar in the setup to test a direct connection and pinpoint any audio path issues.
How to find a solution:
- Choose the HDMI audio output as the source (e.g., navigate to Control Panel > Sound > Playback on Windows).
- Enhance volume on both sides and disable mute/volume leveling/equalizer on the screen.
- Modify the audio setting to stereo PCM for testing purposes, and then enable support for Dolby/DTS formats.
- Disconnect Bluetooth from the device to prevent unintended sound redirection.
- Isolate the unsuccessful step when connecting directly without a receiver or soundbar.
- Update the audio drivers and the system of the TV/monitor.
- Try a different cable or door.
- Test with different material or origin to eliminate defective media.
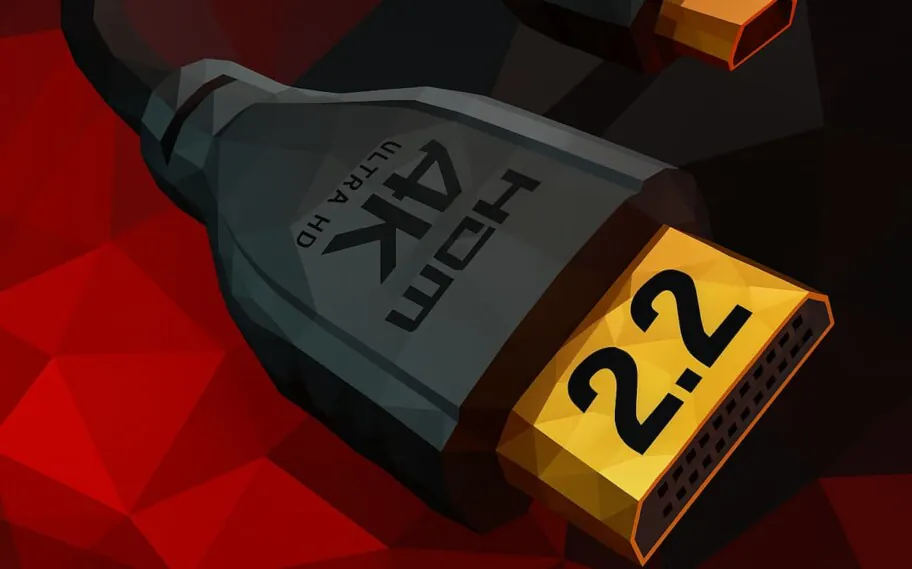
Five. HDCP Error (content protection)
The HDCP abbreviation stands for a digital content protection system sent through HDMI. If the communication between the source and the display does not finish the key exchange process, there could be issues with the signal or audio.
Ensure that all devices involved (such as the source, display, and any intermediaries) are compatible with the necessary version, like HDCP 2.2 typically needed for 4K HDR content.
A proper power sequence involves shutting down, removing the HDMI cable, powering on the screen first, and then the source. This process can often reset the communication between devices.
How to find a solution:
- Make sure the needed version is confirmed: Typically, 4K HDR content requires HDCP 2.2 throughout the process.
- Utilize approved cables such as Premium High Speed or Ultra High Speed.
- Bypass intermediaries like HDCP/EDID (switch/AVR/extender) and connect directly.
- Start the sequence again by plugging in the cable that is disconnected: power on the TV first, then the source, and finally connect the HDMI cable.
- Switch to the designated HDMI port labeled as “4K/HDCP 2.2” on the TV if there are specified ports available.
- Update the software of your TV, receiver, or streaming box.
- Test a different title or application. If it functions correctly, inform the app provider.
- If you continue, switch the mediator to one that is compatible with HDCP.
Intermittent loss of signal
If the signal fluctuates occasionally, it may seem like a minor issue at first, but it can become frustrating over time. The problem could be caused by issues with the cable such as quality, length, or interference.
Certain advanced video/audio functions may lead to instability, such as HDR auto, VRR, Freesync, and high resolutions, which can put more strain on the HDMI connection. To test this, try:
How to find a solution:
- Use a short and sturdy cable, and prevent sharp bends.
- Secure the connectors properly to prevent small movements.
- Temporarily disable VRR, Freesync, and HDR settings and assess stability through testing.
- Adjust the refresh rate to be steady at 60 Hz or 120 Hz without flickering.
- Turn off the energy-saving feature from the power source to avoid signal interruptions.
- Disconnect the HDMI cable from any sources of interference, such as other cables or power sources.
- Remove the switch/extender and perform a direct test.
- Try changing the HDMI port or testing a different display to identify any physical issues.
Connecting with ARC or eARC without audio feedback.
Users of sound bars or receivers may encounter difficulties when attempting to transmit the TV’s audio back to the system.
The issue often arises from selecting the incorrect door; the cable should be connected to the HDMI port labeled as ARC or eARC on both the TV and audio devices.

You must activate HDMI-CEC control in the settings to enable audio return communication. If the function is still not working, replace the cable with one that is High Speed or Ultra High Speed certified, and ensure that both devices support the same ARC version.
How to find a solution:
- Only connect to the ARC/eARC ports on the TV and soundbar/receiver.
- Activate HDMI-CEC on both gadgets (Anynet+, Simplink, Bravia Sync, etc.).
- Choose the ARC/eARC channel as the source on the audio device.
- Prefer Ultra High Speed compatible cable for eARC.
- Set the TV output to ARC/eARC and PCM format for testing purposes, and then activate Dolby/DTS/Atmos.
- Disconnect and reconnect the TV and soundbar using the cable that was disconnected; reconnect after making a call.
- “Disabling the ‘Pass-through’ feature causes issues with the receiver and testing.”
- Update the firmware of the TV and soundbar/receiver.
HDMI CEC is not functioning properly.
The HDMI CEC function enables one remote control to power on/off and switch inputs on linked devices.
Sync issues are frequent. Ensure that all devices have CEC activated in the settings menu (referred to as Anynet+ on Samsung TVs, Simplink on LG, and Bravia Sync on Sony).
If there is no response, switch off all devices at the socket, wait a short while, and then reconnect. This reset typically resolves CEC issues.
How to find a solution:
- Activate CEC on all devices (names vary by brand).
- Disconnect the TV and its components from the socket for one minute, then reconnect and check.
- Remove cascading equipment (switch/receiver) and conduct a direct examination.
- Turn off/turn on CEC to prompt a fresh detection.
- Avoid using loops: Connect a single HDMI cable from the TV to the AVR and disable CEC on unnecessary devices.
- Update the firmware of your TV, AVR, or media players.
- Replace the cable with a certificate to prevent using cables in the wrong direction.
- Test an individual command (connect/off, switch input) to find the missing connection.
Good practices for maintenance and organization
To maintain HDMI connections smoothly, ensure cables are well-organized to prevent damage or tension, avoid tight bends that could affect internal wires, and follow the power procedure when switching devices or cables.
Update the firmwares of your devices regularly as manufacturers often provide fixes for issues related to “handshake”, HDR compatibility, resolution, or audio.
Use certified cables (High Speed or Ultra High Speed, as needed) and opt for shorter lengths when possible to reduce the chance of signal loss.
Tips:
When the issue is related to the body.
If the issue persists after performing all the necessary checks, it could indicate a problem with the HDMI port of a device or the communication chip. Try using the equipment with a different screen or cable, and if the problem continues, contact a professional for assistance.
A clear sign can make a significant impact.
By focusing on basic elements such as cables, ports, and compatibility, you can quickly stabilize an HDMI connection. Making prompt adjustments helps avoid frustration and extends the lifespan of the system, ensuring high-quality audio and video transmission in any setting.
Also consider reading:
Generational jump
HDMI 2.1 has been confirmed: 240 Hz at 4K and 60 Hz at resolutions up to 16K